

Put the next step in one place.
WordPress indexing automation should reduce the work between publishing a page and knowing what to do next. IndexToast connects your website to a central workspace, syncs public URL metadata and can send new and updated publishing events automatically.
You keep writing in WordPress. Your team manages inventory, submissions, checks and usage in IndexToast. Here is how to set it up without turning every edit into an unmanaged submission routine.
Connect once. Review the workflow.#
- Install the official IndexToast plugin.
- Connect this website and approve the domain in your account.
- Review automatic submission settings and eligible content types.
- Publish one public test page and inspect its event.
- Use the hosted inventory for ongoing checks and follow-up.
Follow the installation guide or get the plugin from WordPress.org.
What the WordPress connector actually automates#
The connector has two complementary jobs. It progressively syncs public URL metadata into your inventory, and it sends eligible new or updated publishing events when automatic submissions are enabled.
| Operation | What it does | What it does not prove |
|---|---|---|
| Inventory sync | Brings public URL metadata into the workspace | A URL has been submitted or indexed |
| Publishing event | Passes an eligible publication or meaningful update to the service | Google has crawled the latest version |
| Submission processing | Records the requested service operation | The page is in Google’s index |
| Index Checker | Records visibility evidence at the check time | Every future search will show the page |
This matters when importing an established website. Seeing 2,000 URLs in the inventory is a useful starting point, not evidence that 2,000 paid submissions just completed. The WordPress integration page explains the centralised workflow.
Set up WordPress indexing automation in five steps#
1. Install and activate
Use the official plugin listing or the download on our installation page. Check the current WordPress and PHP requirements before installing.
2. Approve the correct website
Open IndexToast in WordPress admin, choose “Connect this website” and approve the domain in your IndexToast account. Confirm you are connecting the intended production website.
3. Review the publishing controls
Check whether automatic submissions are enabled and which content types are included. The connector supports controls for public posts, pages and products; use exclusions deliberately. Leave private, draft and password-protected content outside the public workflow.
4. Test a real publishing event
Publish one useful public page. Confirm the connector reports an accepted event, then inspect the corresponding service activity. If you change the page, test a meaningful title, body or excerpt update rather than relying on an unchanged save.
5. Check visibility separately
Review the URL in the hosted inventory and use Index Checker when you need a fresh observation. For a page you own, Search Console provides additional diagnostic context. Use the bulk checking guide when the inventory grows.
Follow the page through the system#
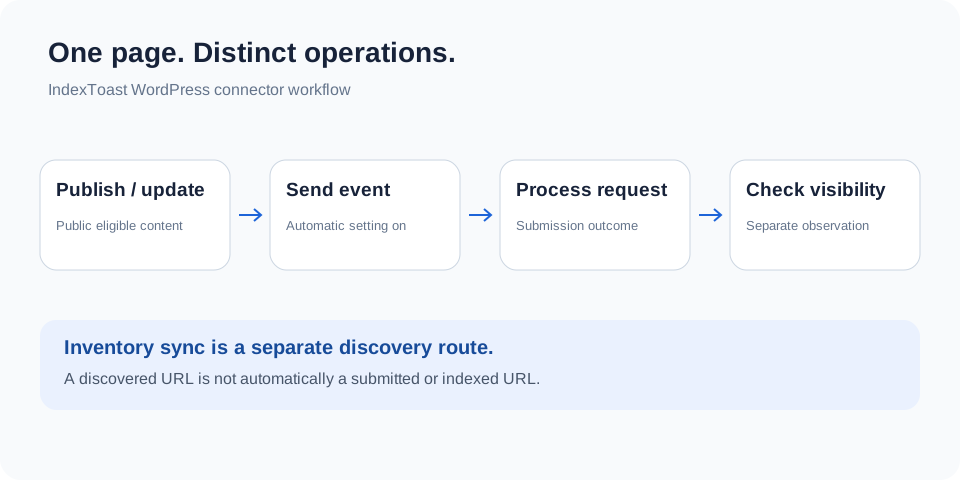
Existing content enters through inventory sync. New publishing activity can enter through an automatic event. Keep those routes separate in your reporting so an inventory count does not become an accidental performance claim.
The plugin listing describes the current connector behaviour and the data it sends. Review the official description and changelog before configuring a rollout across multiple websites.
Make the unit budget match the publishing routine#
Automation can create recurring activity, so budget for events and checks rather than published-post count alone. Standard submission uses one unit per URL. Regular Priority uses 20 units, and a separate Index Checker request uses one unit per URL.
For illustration, 200 Standard submissions and one check on each URL require 400 units. If 20 of those 200 submissions use Priority instead, the calculation becomes 180 + (20 × 20) + 200 = 780 units. Additional accepted update submissions or repeated checks can add to the total.
Monthly plans suit predictable publishing. One-time purchases suit occasional batches. See Regular plans and check the balance and expiry rules for the workspace you use.
If publishing events or discovery stop#
Start in the connector health screen. Check that the website is still connected, review the last accepted event or sync state, and inspect any reported error before reconnecting unnecessarily.
Scheduled discovery and retries depend on WordPress scheduling. WordPress documents that WP-Cron runs when page loads trigger it; a quiet site may run scheduled tasks late. Ask your host to check scheduling if needed. The connector also provides a manual “Sync public URLs now” control for discovery.
If events arrive but visibility does not improve, switch from connection troubleshooting to page diagnostics. Check the public response, robots directives, canonical and internal links using our WordPress preflight guide.
Keep the connector focused#
The connector sends public URLs and limited metadata needed for the service, including content identifiers, types, titles and event times. It does not send post bodies, passwords, drafts, private posts or password-protected content, as disclosed on the official plugin listing.
Use an authorised administrator for setup and review the connected domain. Keep the plugin updated, remove unused connections and use the hosted account to manage the ongoing workflow.
Keep publishing. Keep the follow-up visible.#
IndexToast is useful when WordPress publishing is recurring and you want one place to see what was discovered, submitted and checked. Start with one connected website and verify the whole path before rolling it out across a portfolio.
Automation supports discovery and service operations. Google still decides which pages enter its index; a sitemap alone does not guarantee inclusion.
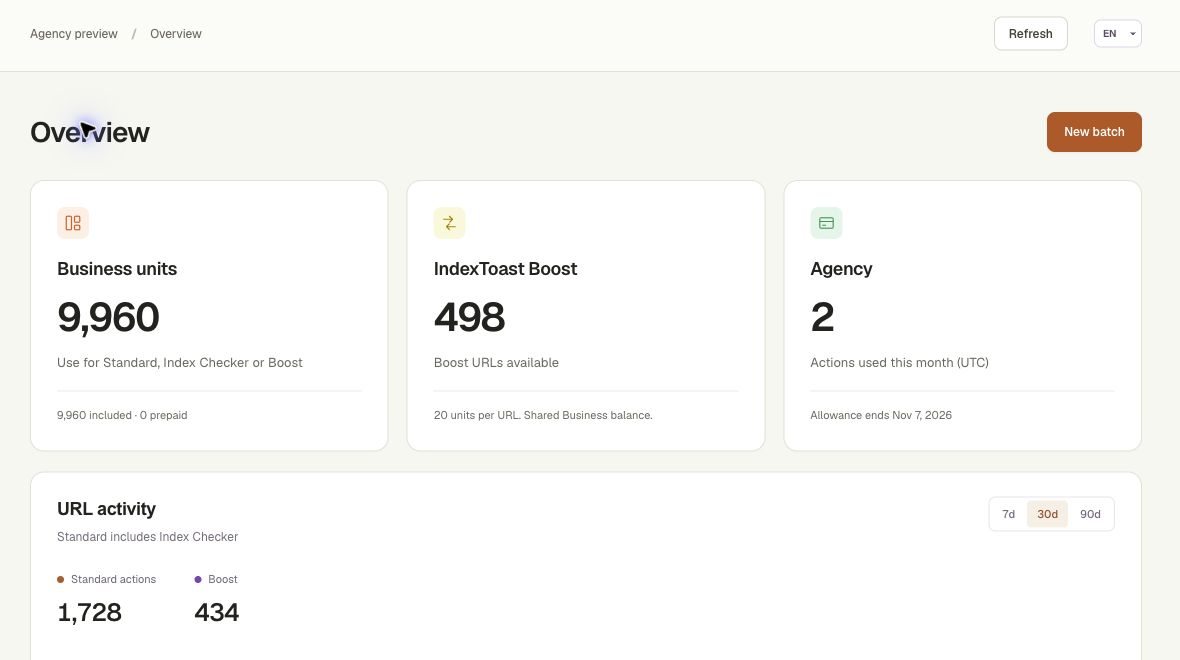
Inside the IndexToast workspace
Review units, projects and activity together.
Questions, answered
Does IndexToast automatically submit new WordPress content?
The connected plugin can send eligible new and updated publishing events when automatic submissions are enabled. Review content-type and per-post controls, then test the workflow on your website.
Does syncing existing URLs submit every page?
No. Inventory discovery and publishing submissions are separate workflows. Review existing URLs before choosing further operations.
Does the plugin send private posts or article bodies?
The connector does not send post bodies, drafts, private posts, passwords or password-protected content. It sends public URL metadata and minimal service diagnostics after connection.
Why can WordPress scheduled sync run late?
WP-Cron is triggered by page loads, so low-traffic websites can run scheduled tasks late. Review connector health and ask your host to check scheduling.
Sources and scope
Official documentation checked 9 October 2026. IndexToast publishes this guide and provides the service described. Worked examples explain operations; they are not customer results. Confirm current plans and checkout before purchasing.